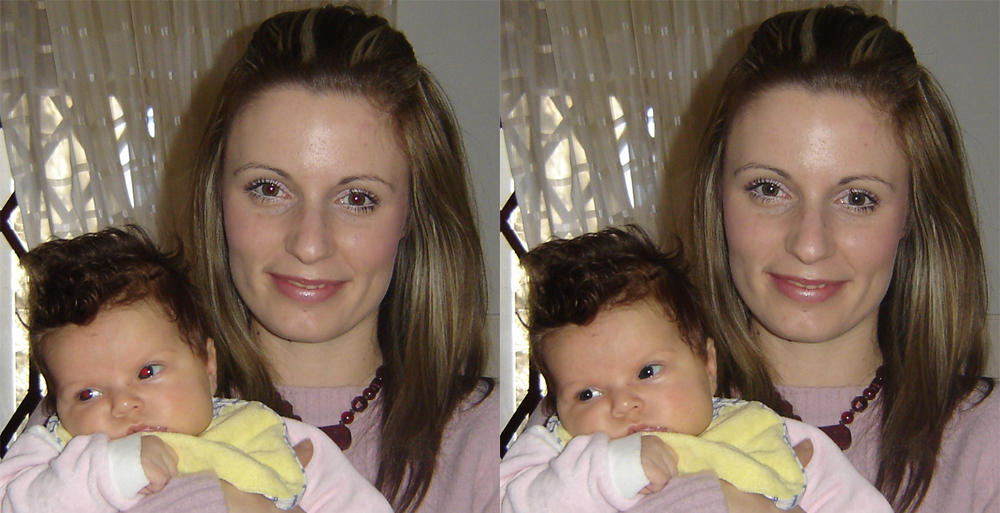
Today I learned how to remove red eye efect...just folow these steps..
1. Duplicate the background image layer so that if you mess up, you can easily
2. Select the Sponge tool from the toolbox.
3. On the Options bar, set the Mode control to Desaturate and the Flow setting
4. Choose a small, hard-edged brush. The brush should be smaller than
5. Click or drag over the red-eye pixels. The program sucks the color out of the
6. Create a new, empty layer by clicking the new layer icon in the Layers palette.
This layer will hold your new eye color. Set the layer blending mode to Color
7. Click the foreground color icon and choose a
8. Activate the Paintbrush tool. Again, use
that your paint strokes don’t have hard edges.
9. Dab on the new eye color as needed. If you don’t see any change, as may be
10. When you’re happy with your work, merge the image layers by choosing
You can use this same approach with any program that offers a Sponge tool,
No comments:
Post a Comment